Reverse Engineering 101: A Comprehensive Guide
Reverse engineering is often misunderstood as simply "copying" a product. In reality, it is a sophisticated engineering discipline that involves analyzing a subject system to identify its components and their interrelationships, and then creating representations of the system at a higher level of abstraction. In the world of mechanical design and manufacturing, it plays a pivotal role in innovation, legacy maintenance, and quality assurance.
The Core Purpose: Why Do We Reverse Engineer?
The primary goal is usually to understand the internal workings of a product, but the applications are vast. Here are the most common scenarios where Reverse Engineering (RE) is indispensable:
- Legacy Parts Reconstruction: When original blueprints or CAD files are lost, RE allows us to recreate precise models for manufacturing. This is critical in the automotive restoration and aerospace maintenance sectors.
- Competitor Benchmarking: Manufacturers analyze competitor products to understand their strengths and weaknesses, enabling them to innovate upon existing designs.
- Product improvement: RE reveals design flaws in existing products. By digitizing a component, engineers can run Finite Element Analysis (FEA) to detect stress points and optimize the geometry for better performance.
- Digital Archiving: Creating a digital twin of physical assets ensures that a design is never truly lost, preserving it for future reference or manufacturing.
The Modern Workflow
At Tesla Mechanical Designs, our reverse engineering workflow leverages cutting-edge technology to ensure micron-level precision. The process can be broken down into four key stages:
1. Data Acquisition (3D Scanning)
The process begins with digitizing the physical object. We utilize advanced laser scanners and structured light scanners. These devices project a pattern of light onto the object and use cameras to capture the deformation of that pattern, calculating the 3D coordinates of millions of points on the surface. This generates a "Point Cloud"—a raw data set representing the object's geometry.
2. Data Processing
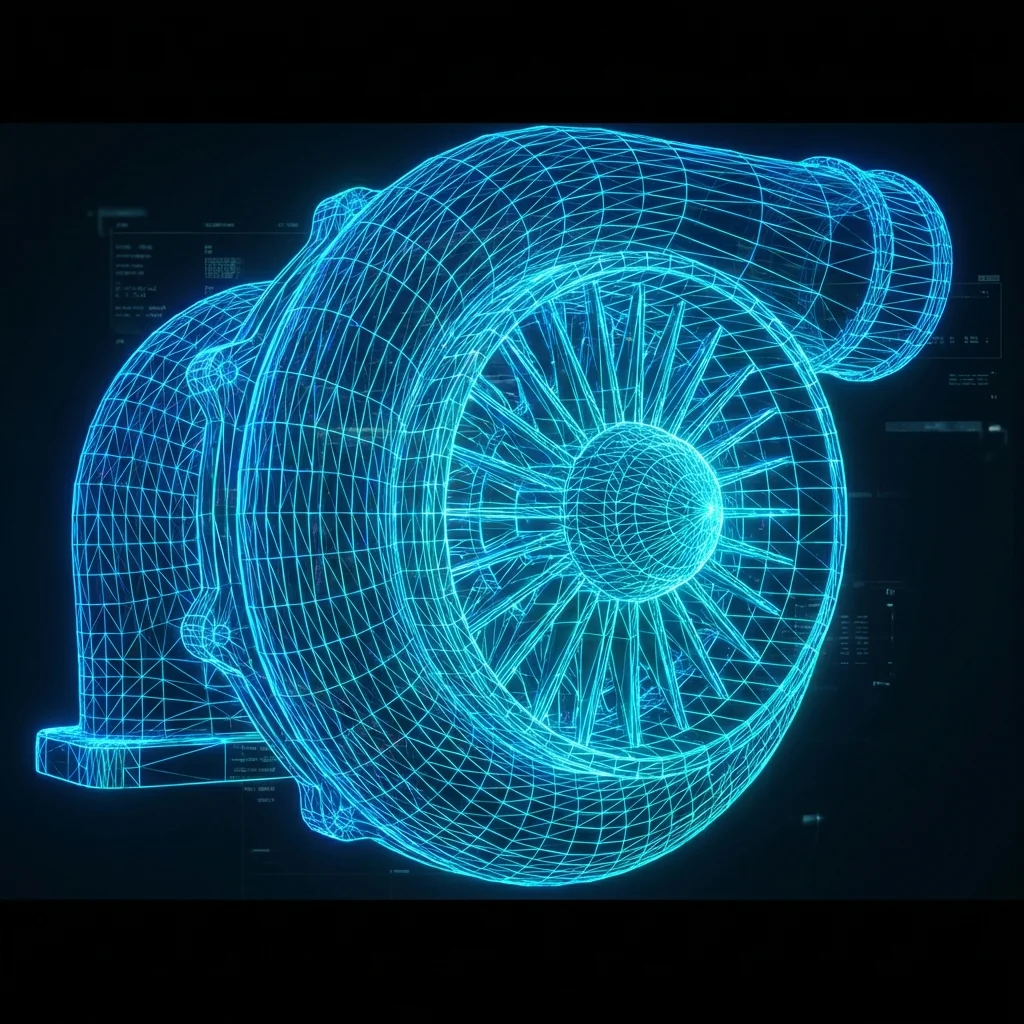
Raw point cloud data is often noisy. Using specialized software associated with our metrology equipment, we clean the data, align multiple scans, and merge them into a unified polygon mesh (typically an STL file). This mesh is a "dumb" solid—it looks like the part, but it lacks the mathematical intelligence of a CAD model.
3. Parametric Modeling
This is where the true engineering expertise comes in. We don't just auto-surface the mesh, which results in uneditable "nurbs" patches. Instead, our engineers use the mesh as a reference sketch. We extract geometric features—planes, cylinders, holes, and freeform surfaces—to build a native, history-based parametric CAD model (in SolidWorks, CATIA, or NX). This model is fully editable, meaning dimensions can be adjusted, and features can be suppressed or modified.
4. Validation and Quality Control
Before delivery, the new CAD model is superimposed over the original scan data. A deviation color map is generated to visualize the accuracy. Any areas exceeding the specified tolerance (often as tight as +/- 0.05mm) are flagged and corrected, ensuring the digital twin is a perfect representation of the physical reality.
The Future of Reverse Engineering
As AI and machine learning continue to evolve, the RE process is becoming more automated. Algorithms are beginning to recognize standard engineering features (like screws, gears, and fillets) automatically from scan data, speeding up the modeling phase. However, the human element—the engineer's intent—remains crucial. Understanding why a fillet is there, or why a wall thickness varies, requires engineering judgment that AI cannot yet fully replicate.
From keeping vintage cars on the road to helping startups iterate on prototypes, reverse engineering bridges the gap between the physical and digital worlds, driving manufacturing forward into a new era of precision and efficiency.
